A few months ago, I broke one of our Ikea frames meant for our Uni Degrees. The frame's been lying in the hallway against our bookshelf collecting dust eversince. Initially, I was thinking of using it as a chalkboard for little messages and reminders. I even bought a set of pretty chalks for it but procrastination got to the better of me (as usual) and the frame is still collecting dust. I've decided to scrap the chalkboard plan and make a magnetic picture frame out of it after coming across yet another creative tutorial from crafty nest.
For a detailed tutorial, click here.
Showing posts with label D.I.Y Pretties. Show all posts
Sundays have now become my tutorial-overload days! Check out these environmentally-friendly creations. Who would have thought that you could make cool bags out of old tank tops. I'm totally inspired. For a full tutorial, visit crafty nest.
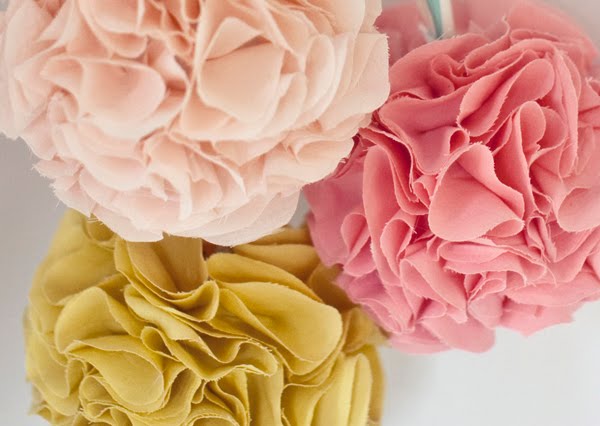
Found another link to DIY flowers, this time in the form of pom poms Great idea for the home or wedding parties, just because it's summer!
Supplies: Fabric, scissors, hot glue gun, and chinese lanterns.
Step 5: Repeat these steps until the whole lantern is covered. Once finished, attached some fabric to the metal frame of the lantern to hang.
Click here and here for project source.
Supplies: Fabric, scissors, hot glue gun, and chinese lanterns.
Step 1: Cut circles out of fabric.
Step 2: Fold the circle in half and put a little hot glue on the center, then fold over to secure.
Step 3: Apply more hot glue to the bottom of the folded circle.
Step 4: Press the bottom of the folded circle with the hot glue onto the chinese lantern.
Step 5: Repeat these steps until the whole lantern is covered. Once finished, attached some fabric to the metal frame of the lantern to hang.
Click here and here for project source.
Years ago, a girlfriend of mine mentioned that it was a piece of cake making felt beads. I never had the opportunity nor time to learn to make any but I stumbled upon these instructions today. Thanks again to Martha Stewart.
Tools and Materials
Fleece
Bowl filled with hot, soapy water (4 tablespoons of dye-free liquid dishwashing detergent to 6 cups of water)Fleece
Bowl filled with cool water
Toothpick
Embroidery floss
Felted Bead Jewelry How-To
1. Begin with a small wad of wool, then wrap lengths of wool tightly around it.
2. Keep adding layers until your fluffy ball is approximately twice the size you want it to end up.
3. Dunk the ball in hot, soapy water to soak it, and then gently roll it from hand to hand (but don't squeeze). Keep doing this for about 10 minutes, dipping as it cools.
4. To create stripes, work strips of wool into the ball with your fingertips. For dots, wind some fleece into a disk, like a cinnamon swirl, then dip and work it in with your fingertips.
5. After decorating, roll the ball in your palms some more, dipping if it cools. Stop when it has shrunk to the size you want. Rinse and let dry.
6. Use a toothpick to poke a hole through each bead before it hardens.
7. Thread bead on embroidery floss, tying a knot to space.
Resources
Wool fiber is available at halcyonyarn.com and peacefleece.com. The rainbow felting pack (21 colors) at Peace Fleece is $13 for 6 ounces -- enough to make a whole slew of beads.
Required Tools and Materials
•3/8-inch round wooden beads, by Lara's Crafts
•Nylon-coated beading wire
•Metal crimps
•Needle-nose pliers
Introduction
A basic stringing technique is adapted to create interlinking loops. We used 3/8-inch unfinished wooden beads.
Step 1
Make Center Piece
Cut an 18-inch length of nylon-coated beading wire. String 12 beads onto the middle of wire, and thread opposite end through last bead to make the bottom circle. For middle circle, string 5 beads onto each end. Add 1 more, and thread opposite end through it. For top circle, string 5 beads onto each end. Add 1 more bead and a metal crimp, and thread opposite end through each. Close crimp with needlenose pliers; trim ends.
Step 2
Make Right and Left Pieces
Cut a 55-inch length of wire. String 7 beads onto the middle of wire, then loop in far-right bead of center piece's middle circle. Add 3 more beads to left end, and thread opposite end through last bead to make bottom circle. For second circle, add 5 beads to right end. Add 2 beads to left end, then loop in far-right bead of top-center circle. Add 3 more beads to left end, and thread opposite end through last bead. For third circle, thread 5 beads onto each end. Add 1 more, and thread opposite end through it. Repeat to add more circles to reach nape of neck, and close final circle with a crimp. To make the left piece, follow steps above. On final circle, loop in a bead from right piece's last circle as the 12th bead, and close with a crimp.
Martha Stewart always makes it seem so easy.
Check out New York based Esther K Smith's creations. Purgatory Pie Press INK is her e-shop and she has a step-by-step innovative book-making guide for all aspiring bookbinders.
"wise decision." says mr. owl
love is in the air
my heart beats for you
dadadadum
i do
honeymoon in provence
My story post-29062007 through Lauren Alane's creations
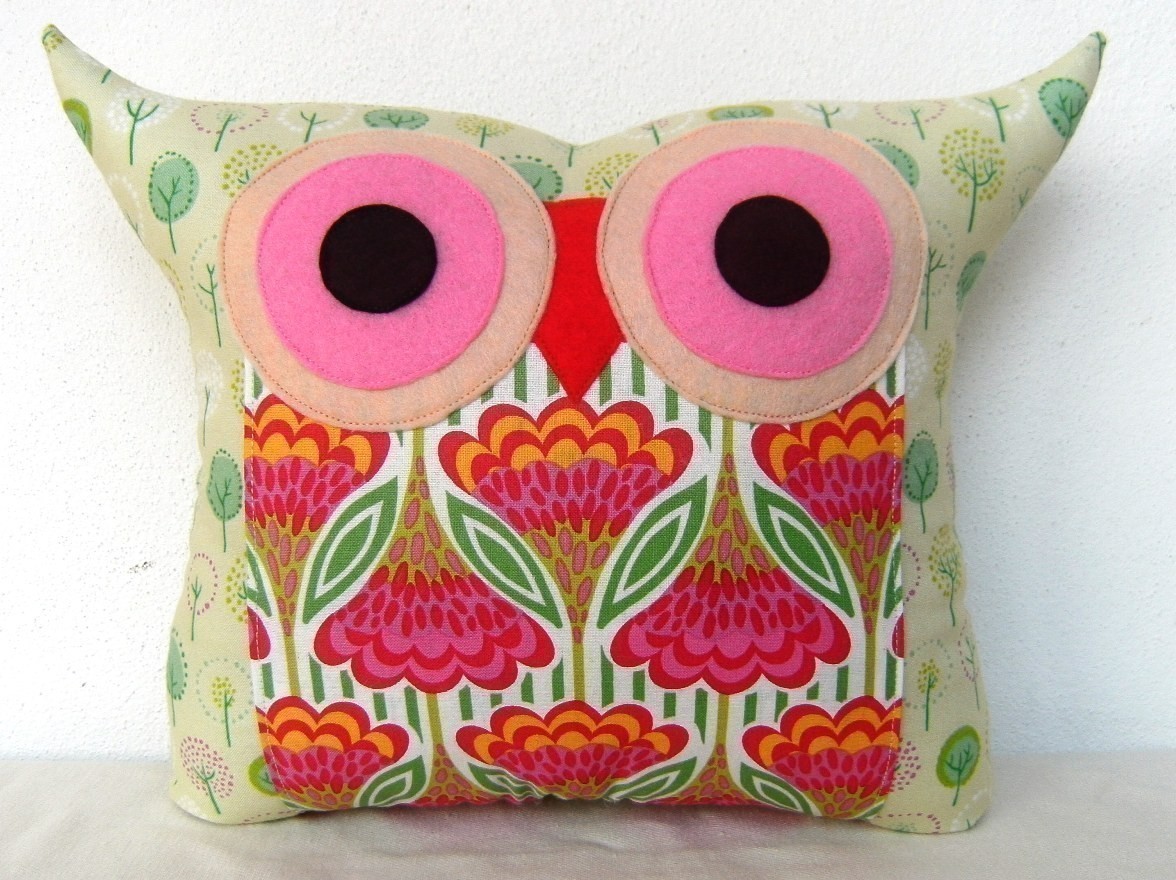
All birds and owls handmade from Lauren Alane of Florida. Check out her wonderful creations here.
Handmade water-coloured thank you cards for the bridal party. The colour and design can even replicate their actual outfits! Such a sweet idea!!
Unfortunately, I read somewhere that it's proper etiquette to send thank you cards out within a week of the event. Oh-o... ...guess I missed the boat by a loong looong time.
Here's how to D.I.Y:
From Lilly and Louise
Mental note to myself:
Don't forget to show your appreciation. Remember to give thanks.
Oh well, procrastination can get to the better of me sometimes but here are some inspirational ways to show your gratitude. Love the ideas!
Don't forget to show your appreciation. Remember to give thanks.
Oh well, procrastination can get to the better of me sometimes but here are some inspirational ways to show your gratitude. Love the ideas!
The secret to prettiness:
1. Paper Doilies - from the baking section in the supermarket
2. Manila Tags - ready-made ones from the stationery shop or DIY
3. lots of different Japanese Tape - unaware of a retail stockist. best bet is to order online @ happytape
My search for these raw materials begins... ...
Subscribe to:
Posts (Atom)